|
|
|
BlueCielo ImandrA 2012 User's Guide | BlueCielo ECM Solutions
|
Importing a document into ImandrA
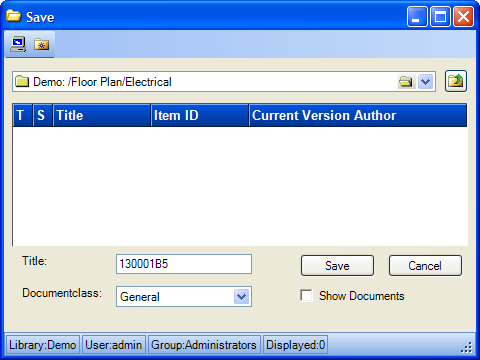
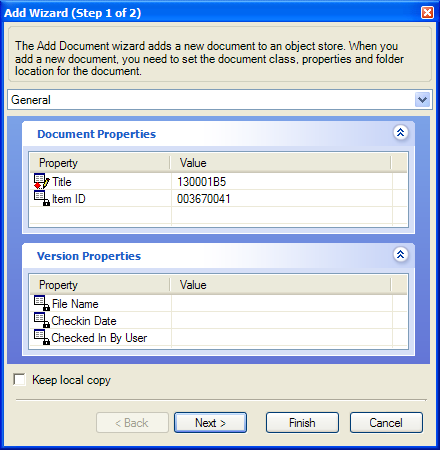
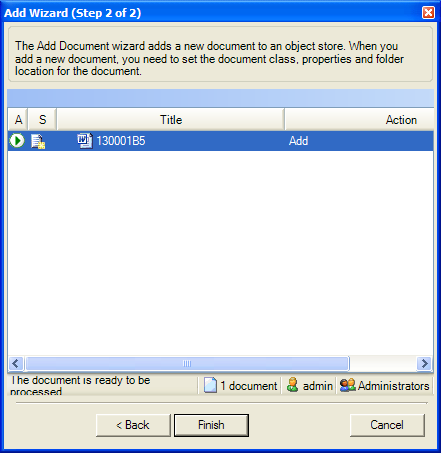
Use the Import command to add the current document to an ImandrA vault that does not contain it already. After the document has been imported, you can check it out to make changes. When you are finished making changes, you can check it back into the vault.
Note A new document must be saved somewhere outside the vault first before it can be imported into a vault.
To import a document from within any MS Office application integrated with ImandrA:
- Click Import on the ImandrA menu or click the Import button
. If the current document has not yet been saved outside the vault, the application’s Save As dialog appears. Select an appropriate location and click Save. The document is saved in the location you selected and the ImandrASave dialog appears, similar to the following figure.
- Navigate to the folder in the vault where you want to save the document.
- Enter the document title in Title.
- Select the appropriate document class from Documentclass.
- Enable Show Documents to see the documents that already exist in the selected folder.
- Click Save. The Add Wizard (Step 1 of 2) dialog appears, similar to the following figure.
- Confirm or correct the displayed property values.
- If you want to keep the original copy of the document, enable Keep local copy.
- Click Next to proceed. The Add Wizard (Step 2 of 2) page will appear, similar to the following figure.
- Confirm that all of the icons in the A column indicate that the actions listed in the Action column can be completed. If you do not want an action to be performed, select another action from the Action list.
- When you are satisfied with all of the actions to be performed, click Finish.